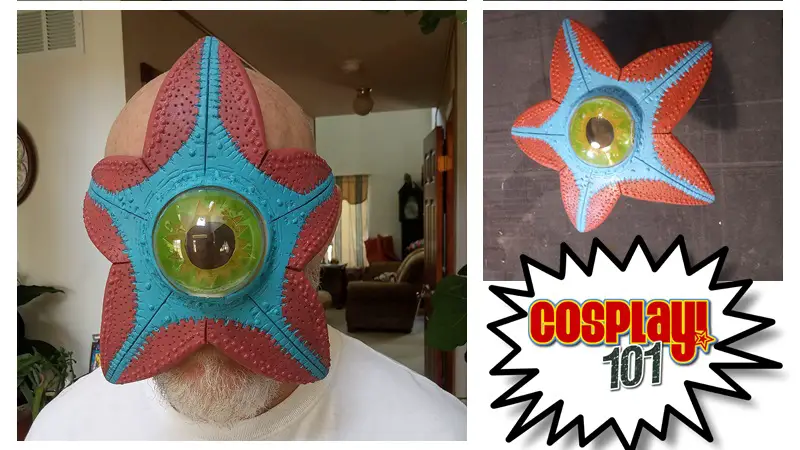
In today’s Cosplay 101, I show you how to build a Starro victim mask!
Starro Mask by Laird of Cosplay
Like any project, sometimes simplicity is the best. I’m going to take you through a step-by-step process, including pictures and explanations, on how you can make this mask.
For more of my creations you can find me:
Facebook: Laird of Cosplay
Instagram: Laird of Cosplay
Etsy: Laird of Cosplay Props
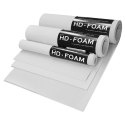 | SKS Props HD-Foam Rolls – Cosplay Starter Bundle __Blick Exclusive!__ Ideal for beginners and professionals who create quality props and costumes for cosplay, theater, and more, SKS Props HD-Foam is a sturdy material that is easy to cut, paint, and shape with heat. Great for helmets, armor, and other long-wearing items. – SKS Props HD-Foam Rolls – Cosplay Starter Bundle |
We are going to start with a list of supplies…
Supplies:
- Hot Glue Gun (I use the smaller one, this fact will be important later)
- Gorilla Brand Hot Glue Sticks (This glue is stronger than average hot glue)
- 12”x 12” square of 10 mm HD Foam (I prefer SKS brand)
- Utility Knife with a fresh blade
- Exacto or Craft knife
- Heat Gun
- Sharp Pencil
- 12” ruler
- Dremel or Rotary tool
- 1 clear plastic Christmas ornament measuring 2.75” across
- Transparent Page protectors in Smoke, Green, and Yellow
- Sharp Scissors
- ¼” elastic (about 10 ½”, adjust length as needed)
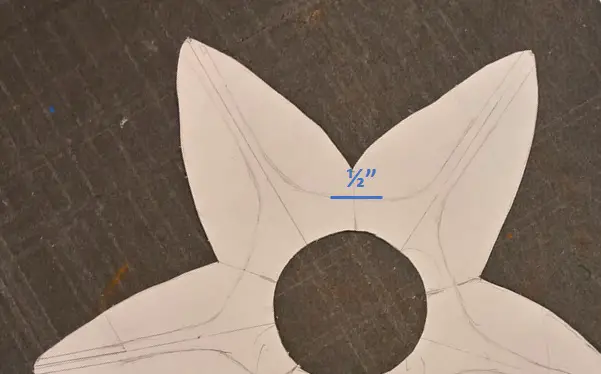
1. Start by printing out this photo and using it as a template. It will save you a lot of work so you don’t have to redraw what I already have.

Starro Template
2. Trace the template onto the square of 10mm HD Foam and cut it out using the utility knife.
3. Cut out the center hole of the star using the craft or Exacto knife, keeping the hole as round as possible.
You now have your basic Starro shape.
4. Using a fine grit sanding barrel on the rotary tool, slightly bevel the outer edges of your star.
5. Using a pencil and a ruler, lightly draw the lines lines from the center hole down to the end of the starfish arms. Do this again with the lines from between the arms to the center hole. These will serve as a guide for shallow cuts later.
6. Make a mark 1/8″ on either side of the central line, on each arm at both ends of the central line. Then lightly, once again, draw a pencil line connecting the marks at each end. (These guidelines are for where you will paint blue at the end of the build)

7. Next make a mark ½” up from the outside edge of the line from between the star arms. Here you will need to make a shallow cut with the craft or Exacto knife as well.
8. From the ½” mark between the star arms, draw an arched line connecting to the outer line of the star arms, as shown in the template picture. Repeat this all the way around the Starfish.
9. This part is very important. With a SHARP craft knife or Exacto knife, cut a shallow slit in the foam over the middle central lines from the center hole to the tips of the star arms. You only want to cut a couple of millimeters into the foam. DO NOT cut all the way through.
10. Repeat this process with the short lines from the ½”marks between the arms to the outer edge of the starfish.
11. At this point, you should have all the lines drawn and the shallow slits made on the designated lines. If so, then heat the foam with the heat gun on high, watching for the slits in the foam to open slightly. Once they do, remove the foam from the heat and let it cool. Be careful not to overheat or scorch the foam.
12. While that is cooling, take your clear ornament and remove the metal fitting at the top,
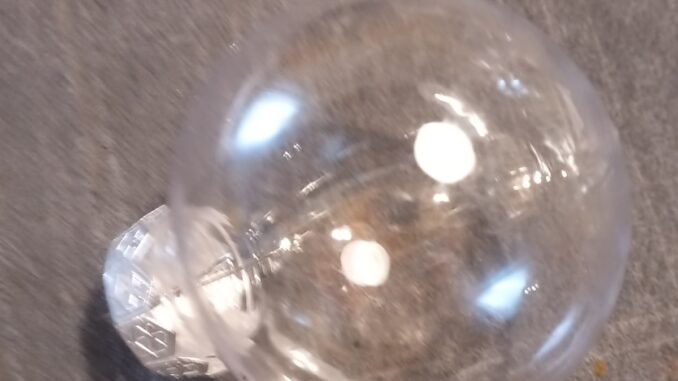
13. Using an abrasive cutter wheel on the rotary tool, cut the ornament in half along the molding seam. If you don’t follow the seam, you will end up with an extra distortion in your view.
14. Make sure to remove all the excess plastic flashing off the edges of the ornament after cutting to avoid injury.

15. From the scrap foam, cut a strip 3/8” wide which is long enough to fit around the hole for the eye. With a pair of sharp scissors, carefully cut the length of the strip at a 45 degree angle so that your strip is triangular in shape.
16. With a small stone cone bit on your rotary tool, make small depressions on one side of the strip of foam. This will be the texture on the outside rim of the eye.
17. Place the clear ornament into the eye hole of the starfish and carefully glue the strip down so it fits snug against the ornament and is flush with the foam of the starfish. Be careful not to glue the foam to the plastic yet, only glue it to the starfish. Once the glue is set, pop the plastic piece back out.
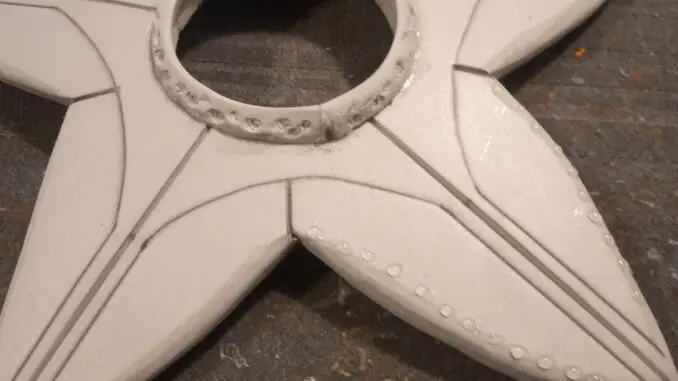
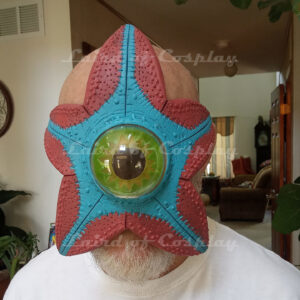
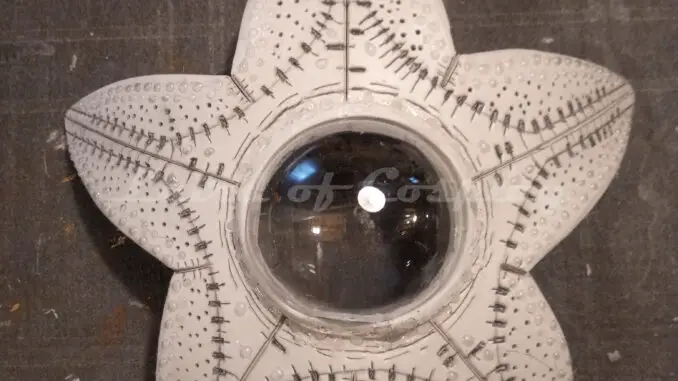
18. With the glue gun (this is why I like the smaller glue gun, it has a smaller nozzle), make 2 rows of small glue dots all the way around the outer edge of the starfish. Also, put some around the eye hole and a few within the area that will be painted blue. Refer to the reference picture above.
When finished, it should look like the picture above. Give the glue a couple of minutes to cool before moving on to the next step.
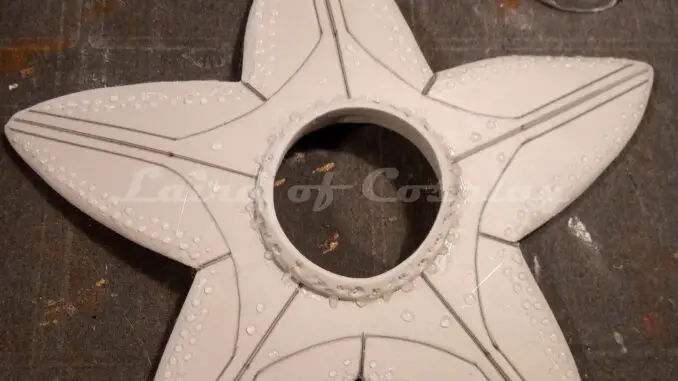
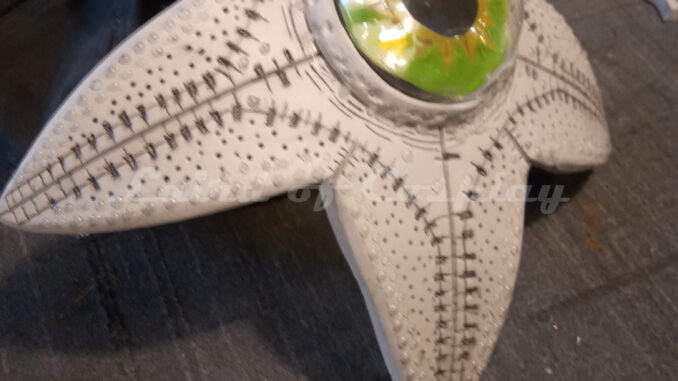
19. With your pencil, push into the foam hard enough to leave an impression but not hard enough to break through the surface into the foam and make the contour marks as seen in the picture above.

When finished, it should look like the reference picture above.

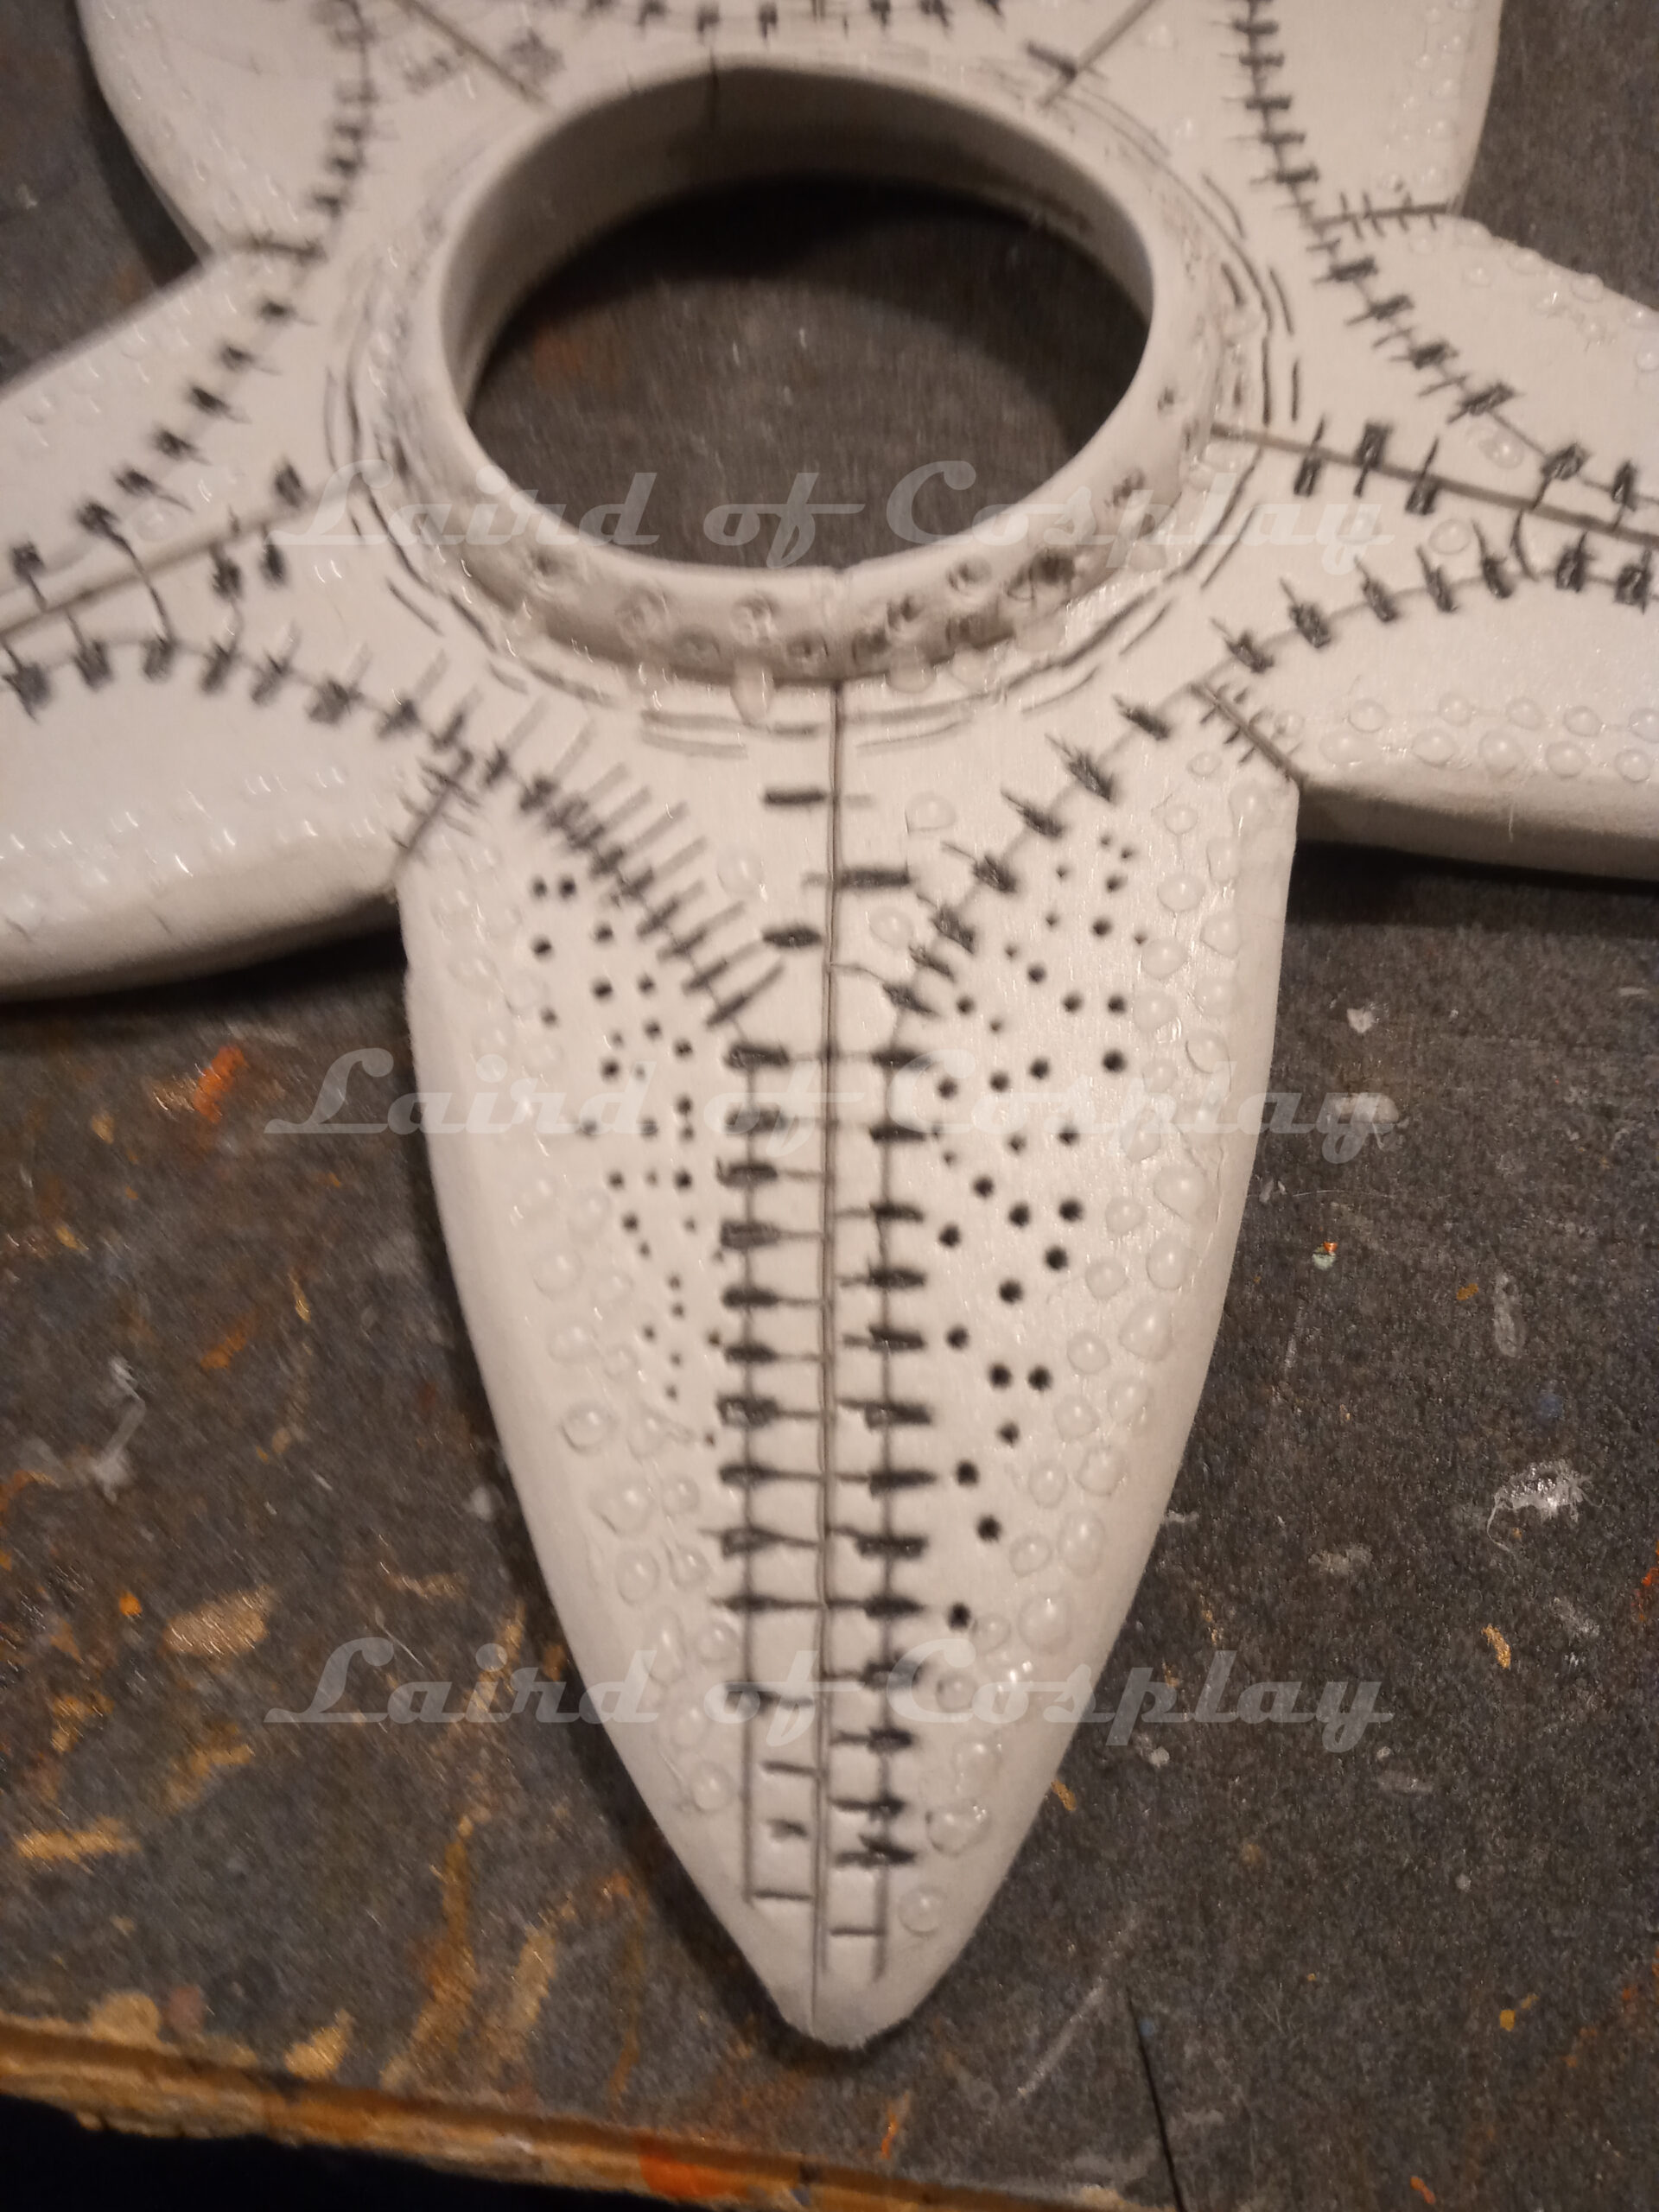
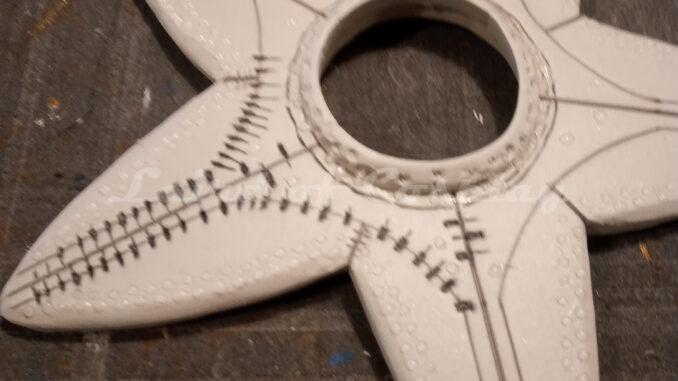
20. Poke the tip of a sharp pencil into the foam, this time breaking the surface and leaving varying size stipple holes in the arms of the starfish, but only in the area that is not going to be painted blue. Add wrinkle lines around the eye hole by pressing the pencil into the foam deep enough to leave the desired marks but without breaking the surface of the foam. See reference pictures above.
21. At this point, you should decide which arm will be the top of the mask. At the bottom of the mask on the back, use your rotary tool and make a depression for your nose to fit so the mask will fit better and allow you to breathe easier.
22. With the edge of the sanding barrel on the rotary tool, make shallow reliefs between the starfish arms on the back. This will allow the arms to curve back better, making the fit to your face more believable. See picture above.
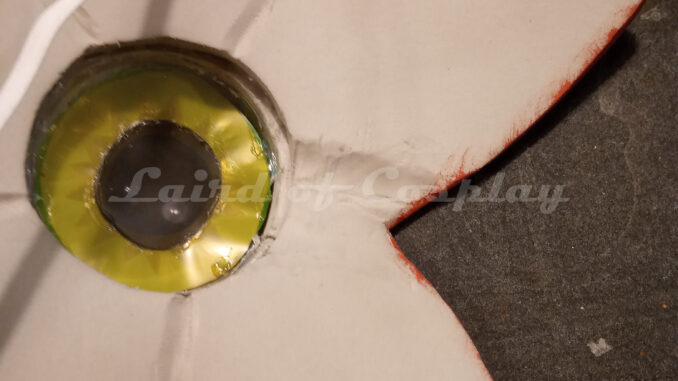
23. Replace the plastic ornament half in the center hole, which will serve as eye of Starro. Adjust the lens so the small gap from the ornament hanger stem is slightly exposed outside the foam strip around the eye hole. This is done to add ventilation and for the lens to keep it fog-free. Once you are happy with its placement, put a couple of dabs of glue in a few spots along the inside edge of the plastic to hold it to the foam.

24. From the colored page protectors, cut out the following shapes:
- From the smoke-colored protector cut a circle about 1-¼” to 1-½” across, this will be your pupil.
- With the yellow and green protectors, cut a circle 2-¼” across.
- In the center of the yellow circle, cut another circle that is slightly smaller than the smoke-colored circle.
- In the center of the green circle, cut out a starburst pattern, leaving enough space on the outside edge to show as the color of the eye while leaving the center hole large enough to completely expose the center yellow hole.
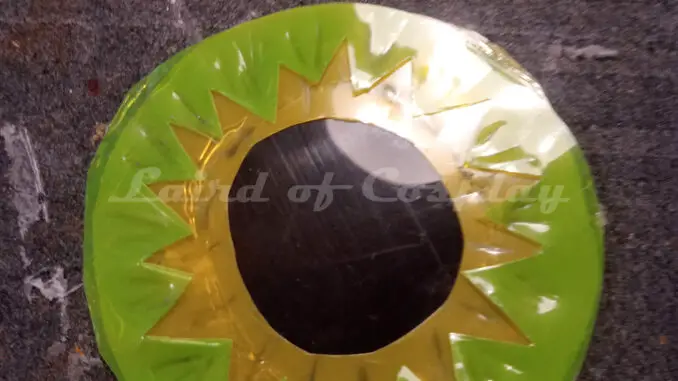
25. Place the yellow circle on the back of the green circle and lightly put a several dabs of hot glue on the edges to hold them together. (There is always some mismatches in the size of hand cut circles. Use those spots for your dabs of glue.) Lay the smoke-colored circle on the back of the yellow circle and put a couple of dabs of of glue thinly on the edges to hold it in place. It should look like the picture above.

26. Take your newly-made eye insert and place it inside the plastic bubble for the eye from the back. Adjust your positioning to center the insert as best as possible, Then place 4 dabs of glue thinly and carefully on the edges of the insert to hold it in place without being blatantly visible from the front side of the lens.
27. Once the eye insert is in place, carefully bend the the starfish arms back to give them a more curved look and to form the more bowl-like shape of the starfish. As in the photo above.

28. With acrylic pants (at least that is what I use), paint the starfish as shown in the above picture.

29. Glue elastic between the 2 upper starfish arms from the back, as pictured above. Make sure to use enough glue to hold the elastic in place, then put a little over the top of the ends to add a little extra strength.
If all steps are followed correctly, you will end up with a cool Starro Victim mask as seen in The Suicide Squad!


2 thoughts on “[Cosplay 101] Building a Starro Mask with Laird of Cosplay”
Comments are closed.